4 Affordable Prototyping Techniques for Aspiring Inventors
Your invention idea is burning bright, and you're eager to bring it to life. But the thought of expensive prototyping might be holding you back. Don't worry! Creating a functional prototype doesn't require a fortune. This post provides a practical, step-by-step guide to low-cost prototyping, empowering you to take the first steps toward turning your vision into reality without emptying your wallet.
1. Choosing the Right Prototyping Method:
The best prototyping method depends on the complexity of your invention and the materials involved. Here are a few options to consider:
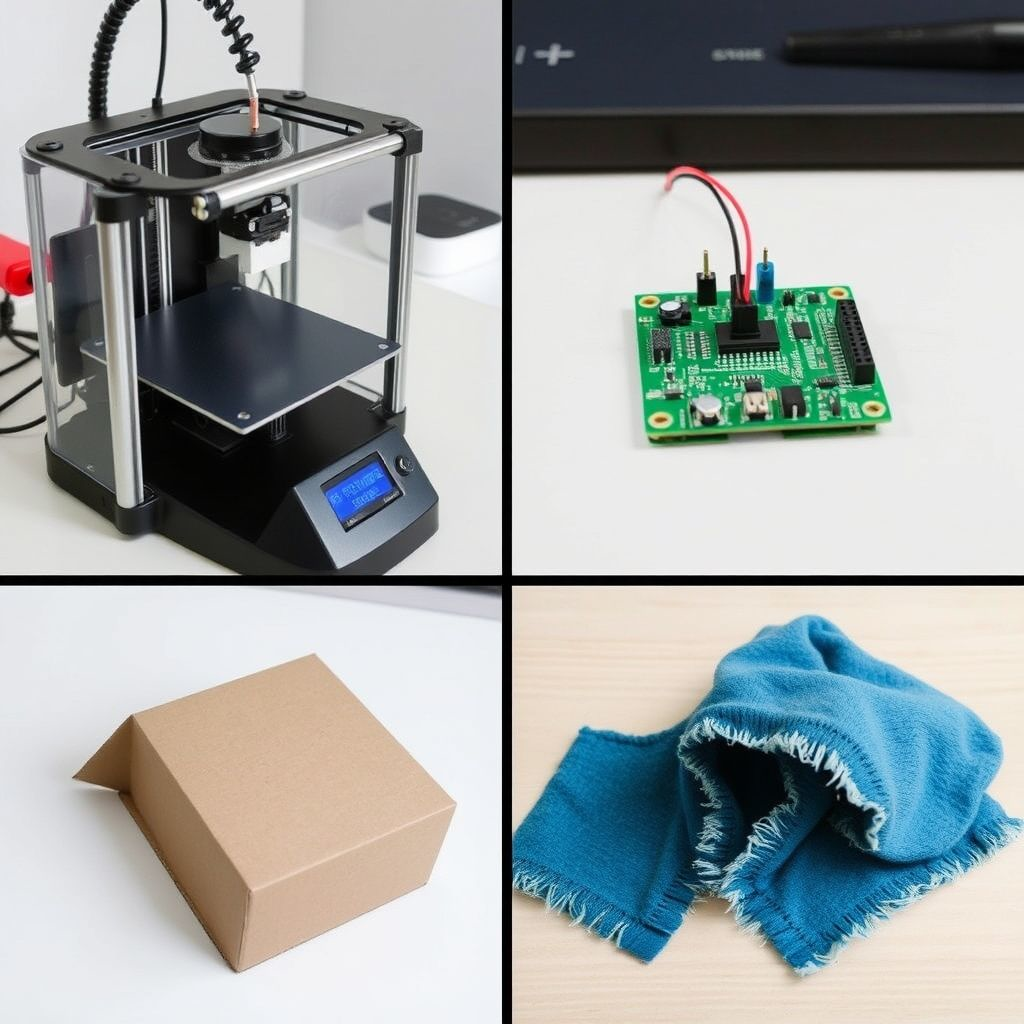
3D Printing: Ideal for creating complex shapes and parts. While 3D printers can be an investment, many maker spaces offer affordable access, and online services can print your designs for a reasonable fee.
DIY Electronics: If your invention involves electronics, consider learning basic soldering and wiring skills. This can be a cost-effective way to create functional circuits and integrate them into your prototype.
Cardboard and Paper: Don't underestimate the power of simple materials like cardboard, paper, and tape. These can be great for creating quick mock-ups and testing basic functionality.
Sewing and Fabric: If your invention involves textiles, learning basic sewing skills can be invaluable. You can often find affordable fabrics and materials at thrift stores or online marketplaces.
Repurposing and Upcycling: Look for existing products or materials that can be repurposed or upcycled for your prototype. This can save you money and add a unique touch to your design.
2. Sourcing Affordable Materials:
Finding affordable materials is key to low-cost prototyping. Here are some strategies:
Repurposing and Upcycling: Check thrift stores, salvage yards, and even your own home for items that can be repurposed.
Online Marketplaces: Websites like Craigslist, eBay, and Facebook Marketplace can be great sources for used or discounted materials.
Bargain Bins: Check your local hardware stores for "bargain bins" or discounted materials.
Local Maker Spaces: Many maker spaces have scrap material bins or offer affordable access to materials.
3. Step-by-Step Prototyping Techniques:
Let's say you're inventing a simple gadget, like a phone stand. Here's a basic prototyping process:
Sketch and Design: Start by sketching your design and creating a digital model using free CAD software like Tinkercad.
Material Selection: Choose a suitable material, such as 3D printing filament, cardboard, or wood.
Prototyping: If using 3D printing, send your design to a printer or use an online printing service. If using cardboard or wood, cut and assemble the material according to your design.
Testing: Test the functionality of your prototype. Does it hold the phone securely? Are there any design flaws?
Iteration: Based on your testing, make adjustments to your design and repeat the prototyping process until you have a functional prototype.
(Consider including a short video tutorial or a series of images demonstrating a basic prototyping technique.
4. Documenting Your Prototyping Process:
Documenting your prototyping process is essential for several reasons:
Patent Applications: Detailed documentation can be helpful when filing a patent application.
Investor Pitches: Investors want to see that you've put thought and effort into your invention.
Personal Reference: Documentation can help you remember what you did and make it easier to replicate your prototype in the future.
Take photos and videos of your prototype at different stages of development. Keep a written log of your design decisions, testing results, and any changes you made along the way.
Key Takeaway:
Low-cost prototyping is within reach for every inventor. By choosing the right methods, sourcing materials wisely, and documenting your process, you can transform your brilliant idea into a tangible reality, even on a limited budget. Don't let financial constraints stifle your creativity. Start building, start testing, and start bringing your invention to life!


